Showing posts with label Breakfast. Show all posts

Wednesday, January 23, 2013

Citrus Blueberry Green Smoothie


I have no time. Yet I also probably have bronchitis, so I better start making some time.

The fast paced nature of college has led my eating habits down a very bad path.

I've been trying to combat this. I cook, I try to eat healthy.

But, pizza always seems to be hovering over me like a dark cloud. Not that there is anything wrong with pizza. I love pizza.

But I feel like everyone in college needs Cookie Monster to drop by and remind them that pizza is a sometimes food.

Maybe that's the solution.

All of this thinking about nutrition and my new Christmas blender has gotten me looking into green smoothies.

"Try a green smoothie!" the internet exclaims. "You can't taste the spinach!"

So, I places some of the frozen spinach we had in the freezer in the microwave to steam it, then I let it cool.

After adding greek yogurt, berries, and a tangelo, I could still taste the spinach. So could Code Boyfriend. It kind of coated our tongues in a vegetable, dirt taste. 

Needless to say, that was thrown out.

But I wanted to try again.

So, I tried celery. Hallelujah! 

A vegetable I could mostly cover up in a smoothie. If you think about it, celery has an almost fruity taste anyways. 

If you can get past the stringy texture. But my emersion blender made quick work of that! 

So here it is, a "green" smoothie that I can actually drink. I hope you can to.

No offense to anyone who likes spinach in their smoothies. I'm trying again with fresh, baby spinach  Wish me luck.


Citrus Blueberry "Green" Smoothie
  • 2 Small Stalks of Celery
  • 3/4 of a Cup of Frozen Blueberries
  • 1/2 of a Cup of Vanilla Greek Yogurt (Mine is non-fat, but go with what you feel)
  • 1 Whole Tangelo, minus the skin and seeds
  • 4 Ice Cubes, not necessary, but nice for the texture

Combine all ingredients in your blender carafe, mine is just a large cup.

I have no idea why neither the yogurt nor the ice is in this picture... Derp.


Blend until smooth and pour into a pretty glass. I felt fancy so I made myself a heart garnish out of the tangelo peel. 

Friday, January 18, 2013

Loaded Potato Pancakes

I was scrolling through pinterest when I was struck by a fantastic idea.

You know all those hash brown recipes? Why don't they have bacon in them??? What if you loaded hashbrowns like you load baked potatoes?

I know, I know, stroke of pure genesis. I haven't really been this inspired by food in a while.

School kind of kicks the inspiration right out of you.

School is really hard, you know? Senior-itis is an strange thing, but I think mine stems from no longer feeling like I belong on this campus. Now I just feel as if I am waiting for my life to start.

I think college is a time to figure out who you are, but I'm still trying to figure out what to do here once you find out.

I'm a knitting, a baker, and a scientist who loves Basset Hounds, mexican food, and nights in with Code Boyfriend. So what am I waiting for?

While I ponder that question, here is a college recipe. Hopefully it will fit into the rest of my life too.

Loaded Potato Pancakes
Feeds 3 hungry college students
  • 2 Cups of Frozen Hash Browns
  • 1 Cup of Cheddar Cheese
  • 1 Cup of Sour Cream
  • 2 Eggs
  • 4 Strips of Bacon, Crumbled
  • Salt and pepper to taste

Mix the hashbrowns, cheese, eggs, and sour cream in a bowl. Salt and pepper.

Cook bacon crispy, and crumble into the potato mixture. (No idea why this looks like egg salad)

Heat a nonstick skillet over medium heat and form a nice large "pancake" on the bottom of your pan.


Cook over medium heat for about 4 minutes until the underside is golden brown and delicious. Flip, and repeat.

Due to running late to knitting club, and the speed at which these potato pancakes were devoured, I didn't get a pretty plate picture. Sorry about that.

I do highly recommend putting chives in this dish. I would have but Code Boyfriend doesn't eat onion. They would taste exactly like a loaded baked potato if you did.

Roommate informed me that if I made these every night, she would be a happy camper. Great reviews over all, you should try this recipe.

Sunday, January 13, 2013

Cran-Blueberry Citrus Smoothie

What are you doing to me, Rochester??

Isn't it hard enough to stay focused on studying for my Biochem exam tomorrow in the dead of winter? Now you have to go and dangle spring in front of my face?

If you haven't been paying attention, today the weather in Rochester, NY was supposed to hit 68 degrees.

The past few weeks it's barely been above freezing and I've been bundled up to my eyebrows with a down coat and flannel lined pants.

For no reason at all, today the temperature skyrocketed, and this was the beautiful spring view out my back window.

January 13th... are you freaking kidding me?

In response to everything I've come to understand about the unforgiving, unyielding East coast winters being thrown out the window, I decided to take a little siesta from my homework and celebrate by using my new blender.

And something wonderful happened. A nutritious, thick, fruit smoothie from only things that were lying around my house.

I will say that Code Boyfriend thought the mixture of the cranberry and the citrus juice made the smoothie a little to tart for him, but I thought it was extremely balanced with the creaminess of the yogurt. If you would like a more mellow flavor, substitute apple juice for the cranberry.

Cran-Blueberry Citrus Smoothie
Makes 1 serving

  • 1 - 6 oz container of Greek Yogurt - I used Wegman's Vanilla
  • 1/2 Cup of Frozen Blueberries
  • The Juice from 1 Tangelo, you can easily substitute lemon, lime, orange, grapefruit, or any other citrus you have, but I had tangelos that were about to go bad.
  • 1/4 Cup of Real Cranberry Juice
  • 4 Ice Cubes

Layer all of your ingredients into a large cup, or in a blender.

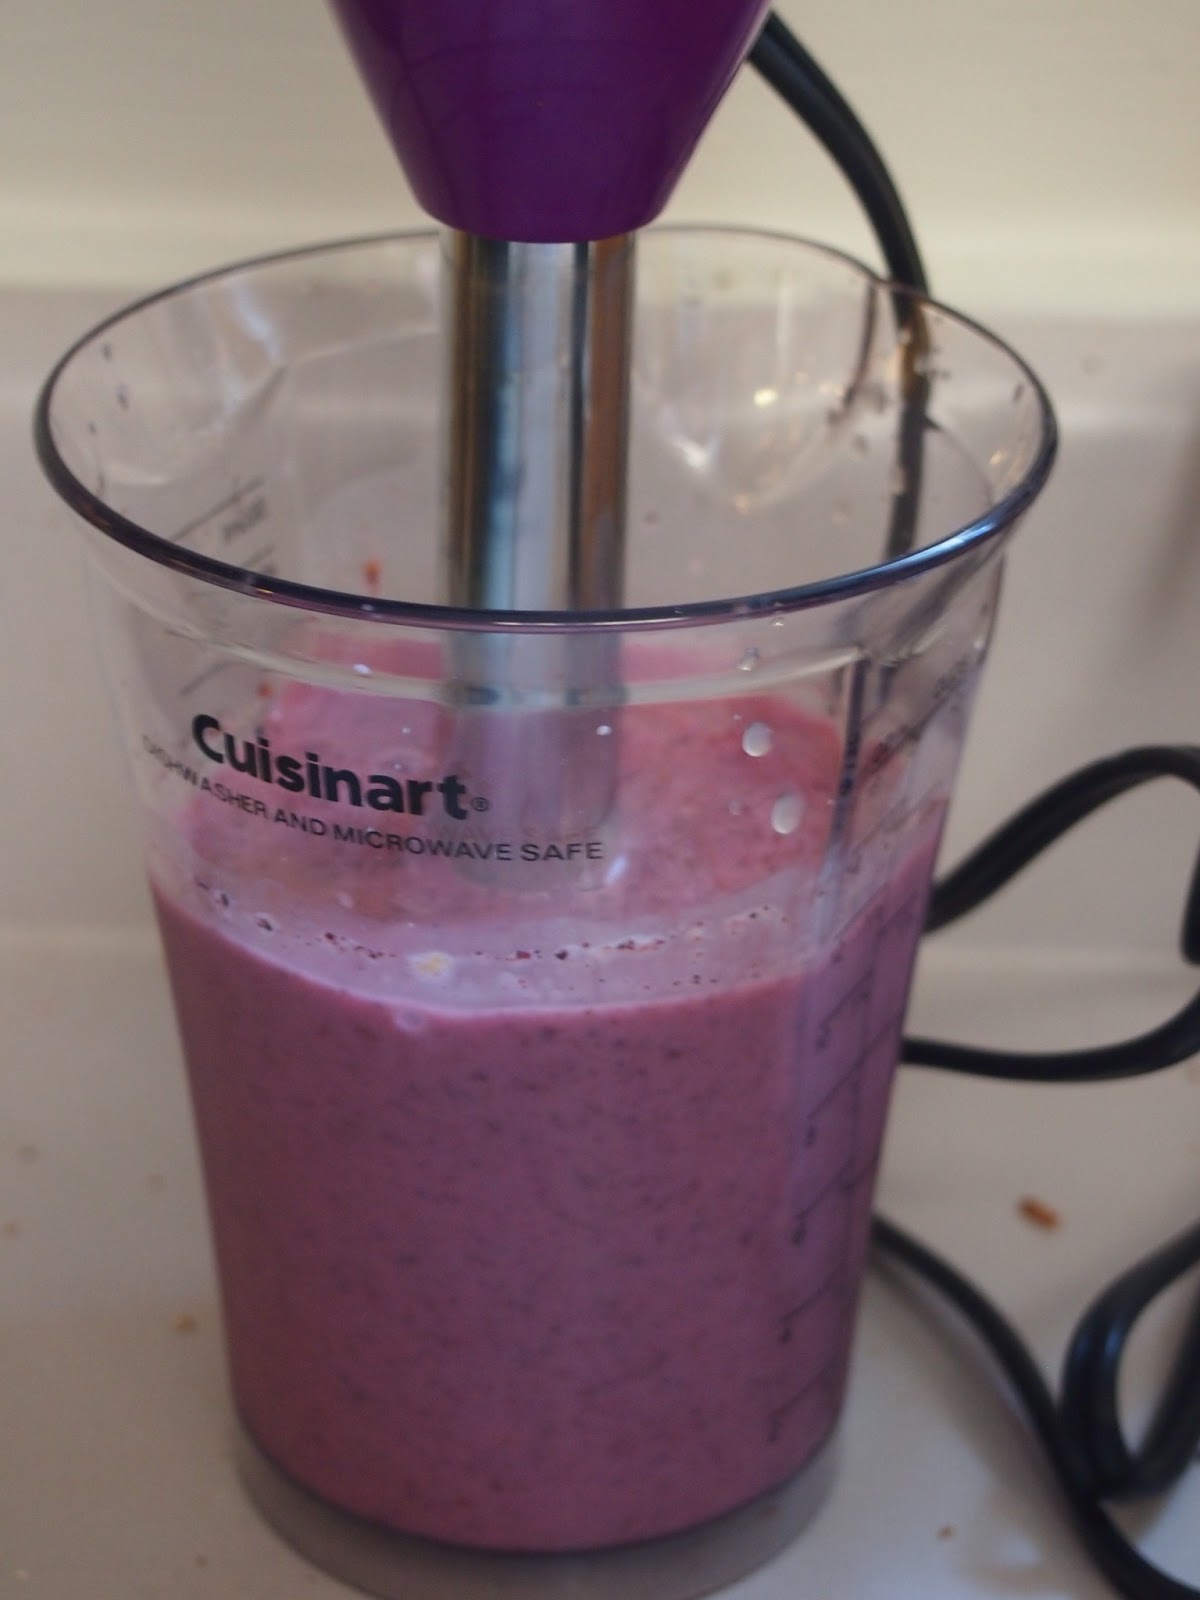
I got an awesome new Cuisinart emersion blender for Christmas  This is the cup that comes with that because I have no other glasses wide enough to fit the mouth of the blender.


Blend until everything is homogenous, which took me about 45 seconds. (Please notice how my blueberry smoothie matches my epic purple blender)

Pour into a fancy cocktail glass, and garnish with a slice of whatever citrus fruit gave its life for your smoothie.


I felt the need to add a bendy straw. Your mileage may very, but what is a smoothie without a bendy straw? 

Saturday, January 12, 2013

Buttermilk Waffles

Saturday mornings are usually pretty sleepy around here.

Sleep late, eat breakfast at the table like humans, and drink coffee slowly out of a real cup and not a travel mug.

This is in stark contrast from school mornings, where I inhale a bowl of oatmeal while packing my backpack and drink coffee while driving to school.

So after a late night of Settler's of Catan and alcohol, everyone slept in. Once I got up, I got this idea in my head that I wanted to make waffles.

I had some leftover buttermilk from trying to make Buffalo Cauliflower... that recipe needs a little more tweaking before I share it.


So buttermilk waffles it is!

Buttermilk Waffles

Adapted from Smitten Kitchen
  • 2 Cups of Flour
  • 1/4 Teaspoon Salt
  • 1 and 1/2 Teaspoon Baking Soda
  • 2 Tablespoons of Sugar
  • 2 Cups of Buttermilk
  • 4 Tablespoons of Butter, melted
  • 2 Eggs, separated
Combine flour, salt, baking soda, and sugar in a large bowl.

Combine buttermilk, melted butter, and egg yolks.

Gently combine the wet and dry ingredients, stirring until just combined.

In a separate clean bowl, whip the egg whites into soft peaks. This means that when you remover the beater or whisk and turn it upside down, a small mound will flop over the top.

Softly fold the whipped egg whites into the batter.

Pour 1/4 to 1/2 a cup of batter, depending on the size of the iron, into a preheated waffle iron. Make sure to remember to oil the waffle iron! I use Pam for this.

Cook for 3-7 minutes, depending on how hot your waffle iron gets. I usually need to be closer to 7 minutes, with my Oster Waffle Iron. 


It's not fancy, but it makes decent waffles.

I always move finished waffles directly onto the rack in a warm over so they stay crispy as I finish the rest of the waffles.

My first batch of waffles in this iron was a yeasted recipe, which were awesome, but these cook way faster and don't have to sit out over night like the yeast recipes do.

This is a solid, no prep, waffle recipe.

Friday, November 23, 2012

Blueberry Pull Apart Bread

Happy Thanksgiving everyone!


I feel like the meals around Thanksgiving dinner always get ignored. No one has ham on Thanksgiving eve like Christmas eve. Nor are there Pinterest boards filled with ideas for Thanksgiving breakfasts.

So here is an idea.
It worked out great today. It finished just as my mom finished prepping the turkey to go in the oven.

I also made the dough the night before. I should have also filled and stacked the bread before I went to bed and let it do it's final rise in the fridge overnight.

If you do it that way, all it takes is 30 minutes to have a delicious warm breakfast.

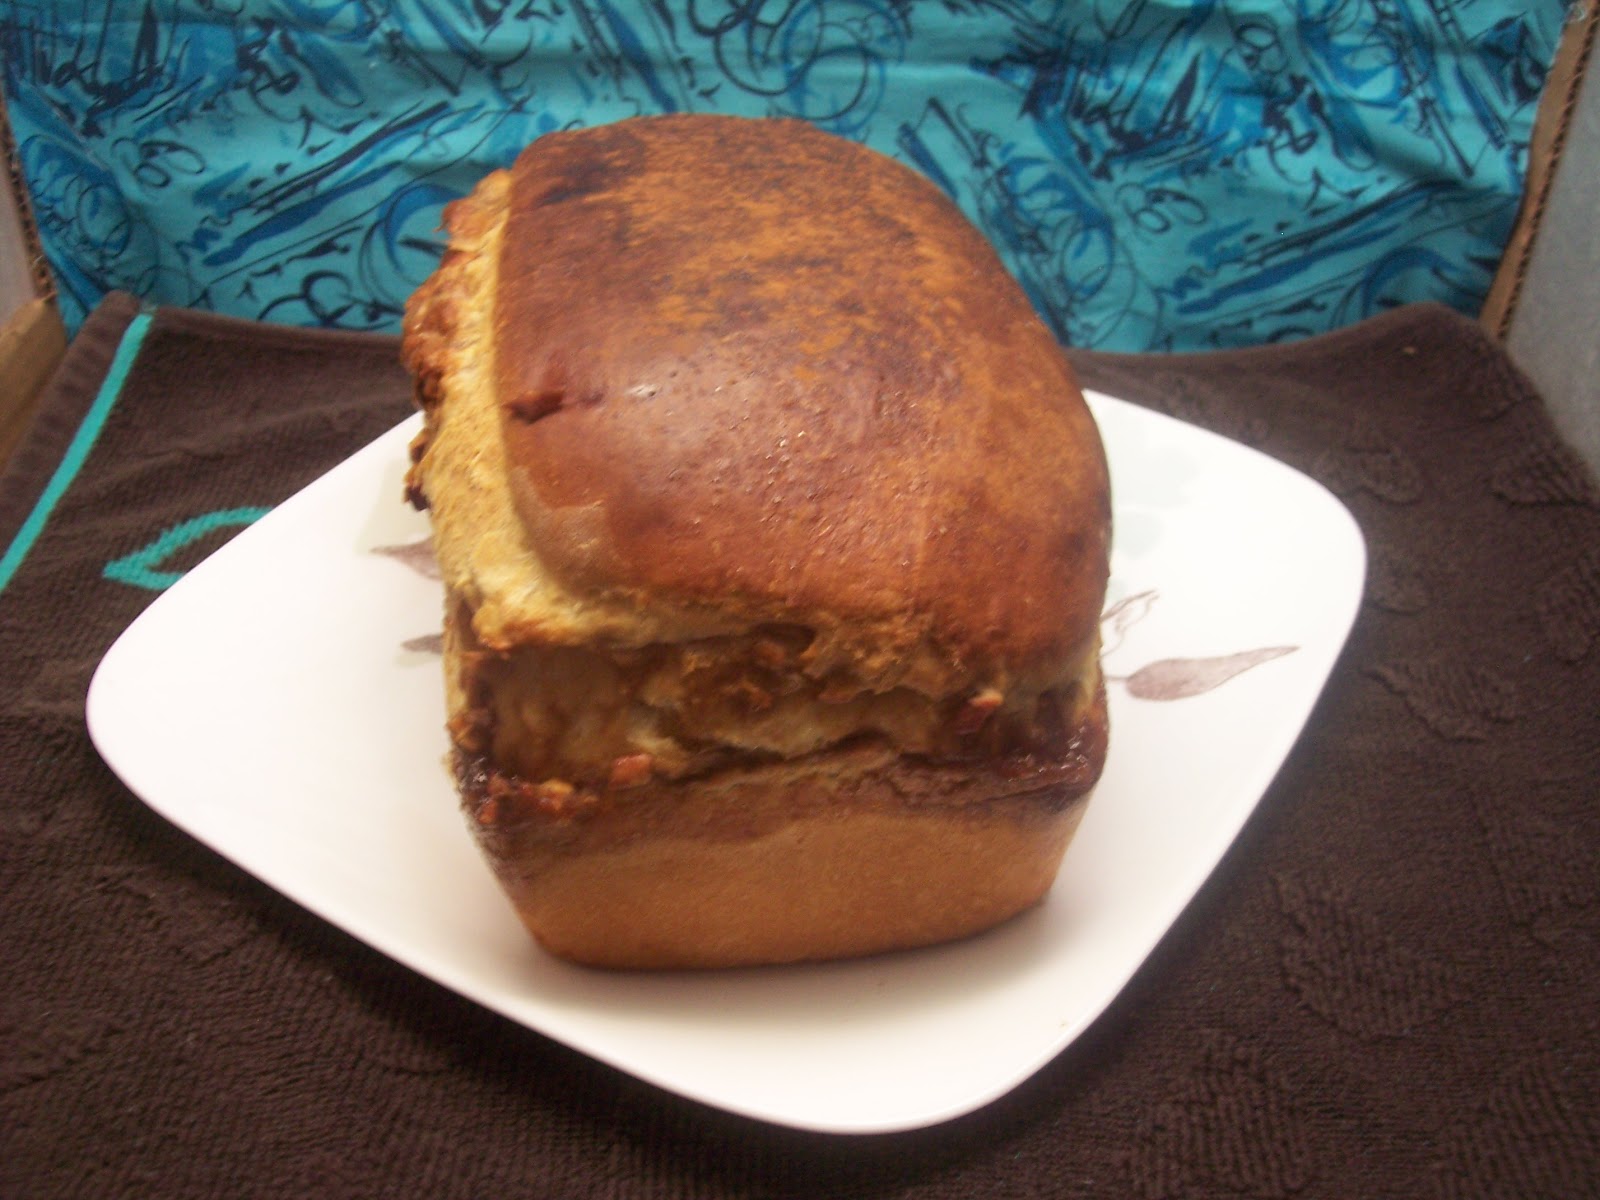
I used the Pioneer Woman's Pull Apart Bread recipe for the dough, then made a blueberry filling.

The one thing I learned today is that blueberries roll... Go figure.

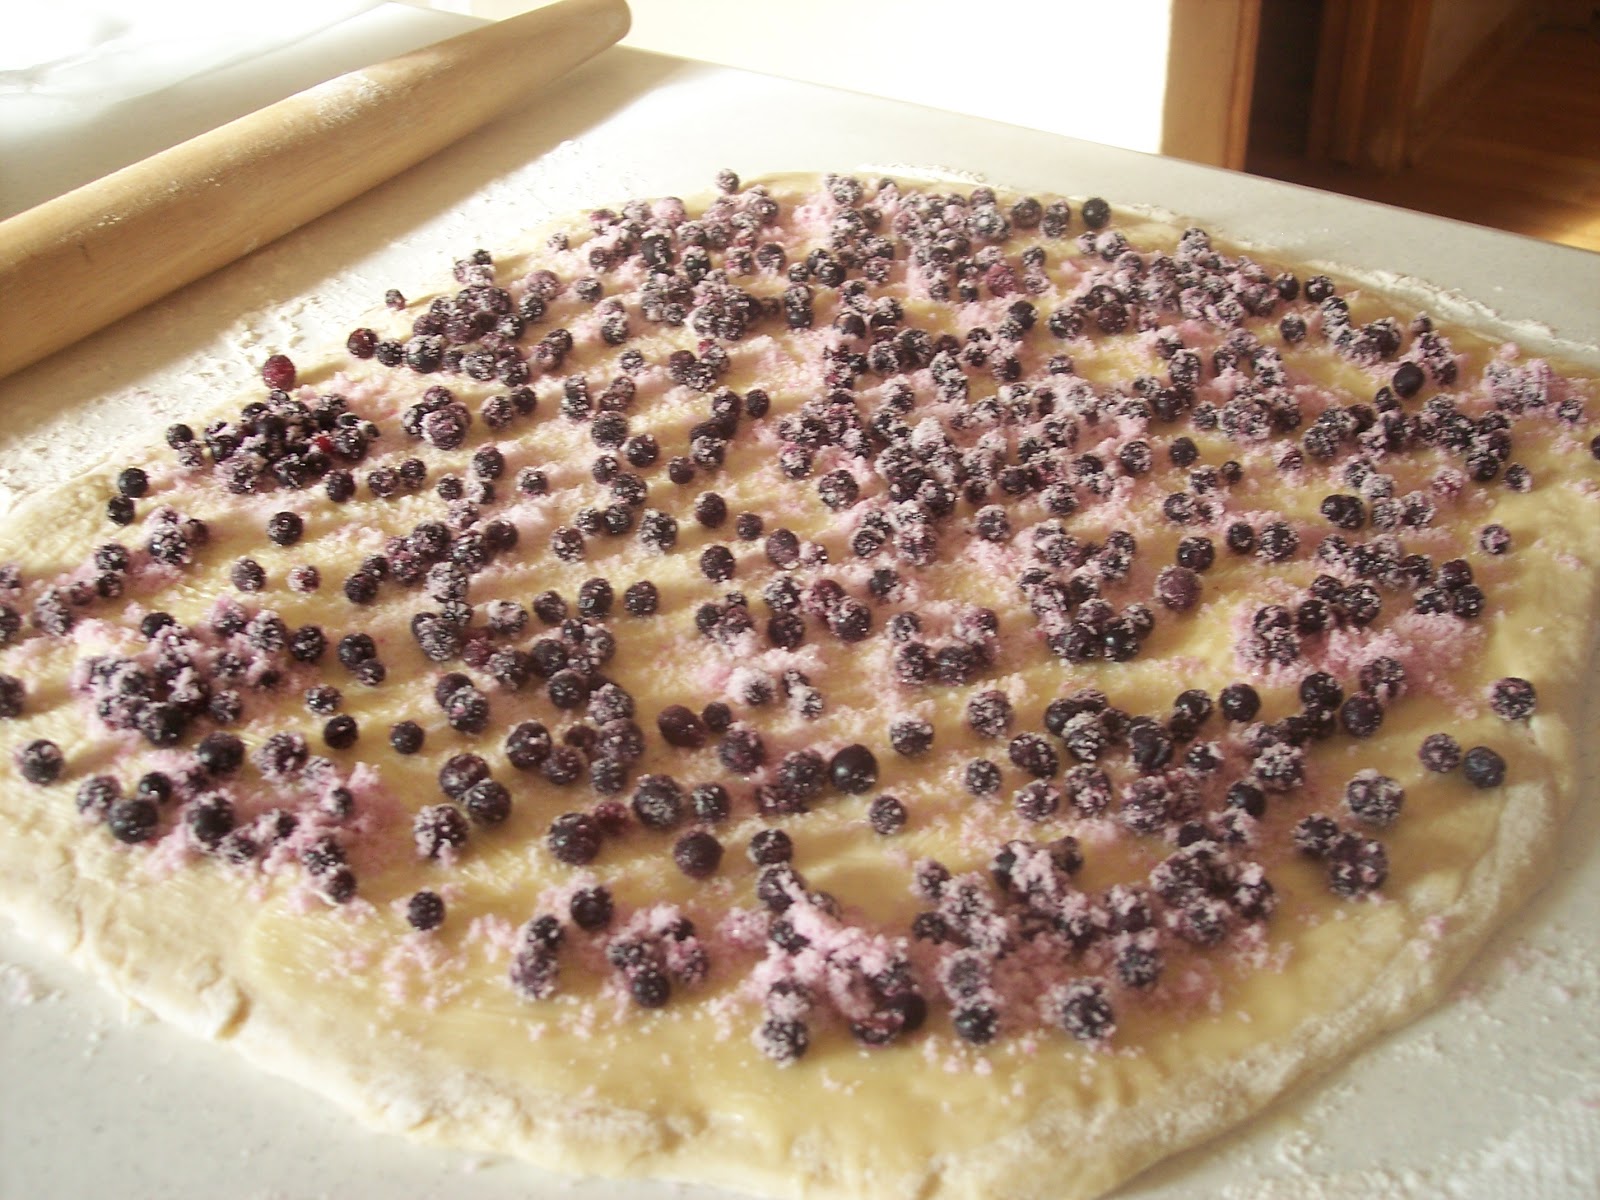
Anyways, I highly recommend mashing the blueberries into the sugar before spreading the filling on to your dough, or cheating by cutting all of the squares and putting the filling in between one by one.

Trust me, round sugar covered blueberries were flying everywhere this morning.


Blueberry Filling for Pull Apart Bread
  • 1/2 Cup of Sugar
  • 1 and a 1/2 Cups of Frozen Blueberries
  • 1 Teaspoon Vanilla
  • 1 Teaspoon Orange Juice, optional
 Mix all of these in a bowl and allow to meld for about 5 minutes before smearing on your dough that has been covered in butter.

For the rest of the bread, I followed the Pioneer Woman's instructions exactly.
 
Be warned, this made a lot of dough. I had to break out 2 mini loaf pans after I filled a large one.


I hope you enjoy the bread!

Wednesday, November 21, 2012

Granola Waffles


When I called home right before Code Boyfriend and I left for Colorado, I got one request. Make enough waffles to fill the freezer until I come back for Christmas.

My mom's favorite are my Granola Waffles. They turned out great. It would have stopped here, but my sister has a nut allergy. I'm sure you can make these waffles with nut-free granola, but I didn't have any. Nor did I feel like making any.

So, I also tried to make my sister Apple Cinnamon Waffles. Those worked out less well. Still edible, but every time I opened the waffle maker, the browned top of the waffle pulled away from the meat of the waffle... They taste good, but look less good.

I'm going to work on that recipe over Christmas break, I'll get back to you with Apple Cinnamon Waffles.

For right now, all I have to share is the Granola Waffle recipe.

Granola Waffles
  • 1 and 1/4 Cups of All Purpose Flour
  • 1 Cup of Granola
  • 1/8 Teaspoon Salt
  • 3 Teaspoons Baking Powder
  •  1 Teaspoon Cinnamon
  • 3 Tablespoons Brown Sugar
  • 1 and 1/2 Cups of Milk
  • 2 Eggs
  • 6 Tablespoons of Butter, melted
  • 1/2 Teaspoon Vanilla
 
Combine flour, granola, salt, baking powder, cinnamon and brown sugar in a large bowl.

In a small bowl, combine milk, eggs, butter, and vanilla.


Combine the wet and dry ingredients until just combined.

Pour about 1/4 a cup of batter into each of the squares of a waffle iron and cook as directed by the waffle iron.

I used the Cuisinart Griddler Waffle Iron plates and they took about 8 minutes at 350 degrees.


If you place them on a baking sheet on some paper towels in the freezer, and then place in a plastic baggie in your freezer, they will reheat just like frozen waffles. So much better though!

Thursday, November 15, 2012

Apple Filled Challah Bread

This is the last one from the Hooks and Needles night, I promise.

Today was exhausting. But tomorrow I am done with this quarter. I just have one more test to get through and then I get to go home for Thanksgiving.

I'm just about to get out of bed and go finish my mother's sweater vest, just you watch....

Ok, maybe later.


Right now I want to give you this bread recipe. It was amazing. Soft and sweet, the apples worked perfectly.

I adapted this pin, because they didn't include a bread recipe. I also forgot to slit the top of the bread. Don't do this... the apples burst out in an escape attempt and get burned to the bottom of your oven.

While I didn't end up having any left over, I would love to try making french toast with this bread... Just a thought.

Apple Filled Challah Bread
  • 1 Cup of Lukewarm water
  • 1 and a 1/2 Teaspoons of Active Dry Yeast
  • 1/2 cup of Honey
  • 2 Tablespoons of Vegetable Oil
  • 1 Egg + 1 Egg for Egg wash
  • 1 and a 1/2 Teaspoons of Salt
  • 4 cups of Flour 
  • 3 Apples, diced
  • 1/4 Brown Sugar
  • 1 Teaspoon Cinnamon
Combine water, yeast, honey, oil, salt and 1 egg in the bowl of a mixer with a dough hook attachment.

Mix just to combine.

Add flour one cup at a time. You can knead in the flour by hand, but I don't want to, and I don't expect you to want to either. It tires out my hands.

Once all 4 cups of flour are incorperated, knead for 8 minutes until the dough is no longer sticky, adding more flour if necessary. I live in the Northeast, where we like to keep the water in the air, so mine took almost 5 cups.

Once the dough is no longer sticky, allow to rest in a warm place until the dough has doubled in size, about 1 hour.

 Once the dough has risen, roll it out into a large rectangle, about a 1/4 inch thick.

Combine apples, brown sugar, and cinnamon in a separate bowl.

Cover your dough rectangle with your apple mixture.

Roll dough around the apples as if you were making cinnamon rolls...mm cinnamon rolls.

Tuck both ends of your roll under the center of the seam, so all parts of your dough seam are inside your loaf.

Place into a greased loaf pan and allow to rise for 30 minutes.

Now, slash the top of the loaf... seriously, it's not pretty if you forget.

Egg wash (1/2 egg, 1/2 water mixture) the top of your loaf.

Bake in a 350 degree oven for 50 minutes, or until the loaf sounds hollow when you knock on it. I know I sound crazy, but I always knock on my yeast dough.

Allow to sit in the pan for 10 minutes before removing. Slice after fully cooled.

Look at those apple cinnamon swirls... I'm serious. This needs to be French Toast immediately. Sorry, I'd have a post about that tomorrow, but none of the bread survived the night. Better luck to you. Maybe for Christmas morning...

Sunday, November 4, 2012

Breakfast Grilled Cheese

This may be the best idea I've ever gotten from Pinerest.

Simply Cooking made this breakfast grilled cheese, and today, I had Code Boyfriend make me one.

In fairness, he asked me if I wanted eggs for breakfast, and I did. I just wanted them in a grilled cheese.

While Simple Cooking used a fried egg, I'm just not a huge fan of all of that yolk leaking out of the center of my sandwich, so I went for a scrambled egg.

Breakfast Grilled Cheese
  • 2 Strips of Cooked Bacon ( I'm sure ham or sausage would also be tasty)
  • 1 Scrambled Egg
  • Butter
  • 2 Pieces of Multi grain bread
  • Shreded Cheddar Cheese
Butter both pieces of bread and place butter side down on a non-stick pan, over medium heat.
Place about a handful of cheddar cheese on each side of the bread. Allow to melt.
Once the cheese is all melty, add eggs and bacon. Close sandwich. Consume.

Guys, I know you're all like, why is she telling us how to make grilled cheese, but trust me, next time, add eggs and bacon.

You won't regret it.


Wednesday, May 30, 2012

Slow Cooker Peanut Butter Granola


Hello world!

 I'm sorry about my absence, but if you just give me a moment to explain, I think you'll understand. I had a massive yarn bombing project that was exhibited on May 5th. That Saturday, my Daddy also graduated with a Masters degree... on the other side of the country. Very bittersweet day for me not being able to be home with my family. My sister graduated from the University of Colorado on May 11th, so I took 3 days to fly to Colorado to see that. But since my school is on the quarter system, I had to go back, finish up a week of school, then finals, then move out of my house. Which I thought I had under control... Why don't you guess how wrong I was.

 We had a crisis in my school family. There is a difficult balance you have to strike in college. You need a support system that is not from your parents, you need to transition into being an adult. Total reliance on my parents is not longer an option. But I still don't feel like I'm fully grown yet. I don't work during the school year, and most of my days are still filled with homework and friends. The Wednesday before finals week, I needed to be an adult.

One of my school family members stopped being able to breathe and spent the night in the Trauma unit of a local hospital. Someone needed to be there until her mom could fly into town. 6 days later she was still in the hospital, now in stable condition. Nothing in life seems important when someone you care for is struggling for every breath. I did what I needed to do, I re-prioritized my life. I had to take a C in a class I should have earned a B in because I was too tired to study. I had to take a B in a class I should have gotten an A in because I still needed to pack.

 I'm figuring out that the reason I can't get straight A's is because life gets in the way. Sometimes, sleep is more important than Organic Chem. In 20 years, it won't matter that I got a C instead of a B in Organic Chem 3, but hopefully it will still matter that I commit to being a good friend. I am the type of person to call at 2 AM. I'm more proud of that than I would be of a 4.0.

 Luckily, this whole mess is over. My friend is out of the hospital and luckily still got to put on her robes, and walk across the stage at graduation. And, after a 3 day drive, I am now home. Here, I don't really need to be the adult in the room. I can take a day off. Sit in the sun and drink my coffee. Pet and dog and watch TV. It's a nice break.


Awe.. Aren't they cute?

Moving on. I find granola to be the perfect summer breakfast. I mean, add some nice cool yogurt, and some berries, what could be better? But, I don't know anyone who makes their own granola who hasn't burnt a batch on the stove or in the oven. I make mine in a slow cooker to take away some of the granola burning risks. I can throw everything into the slow cooker and leave it on all afternoon, stirring when I feel like it, or can smell the granola.

 Peanut Butter Slow Cooker Granola 
makes about 7 cups
  • 5 cups of Old Fashioned Oats
  • 1 cup of Sweetened Coconut
  • 1 cup of Chopped Peanuts
  •  1/2 cup of Vegetable Oil
  • 1/2 cup of Peanut Butter 

 Place the oats, coconut, and peanuts in the slow cooker.

I like to chop my peanuts so they incorporate into the granola. But to each their own.

Mix oil


 and peanut butter in a separate container. I usually microwave these two for about 20 seconds. It will make combining them much easier.


Mix the peanut butter mixture into the oats.

 Now is when I add about 2 tablespoons of honey. Since I just got back to Colorado and my allergies are killing me, I am using raw, local honey. Hopefully this internet lore makes my allergies better. I'm willing to try anything at this point.

I don't measure this. Measuring honey is too much of a pain for me to waste time on. Feel free to eyeball this.

Turn the slow cooker on low, mixing every 30 minutes or so for 5 hours. Leave the lid off to prevent steam from building up. You want the granola crispy, not soggy.


After a couple hours, the granola starts to brown up very nicely. You can turn the cooker up to high, but the granola will need to be stirred more frequently to prevent burning.


When the granola gets all toasty and dry, let it cool in the slow cooker. MMM... granola.
 
Follow Me on Pinterest

Saturday, January 14, 2012

Baked Oatmeal Breakfast

So the first concern BF had when he saw the list was having nothing to eat for breakfast. He already consumes an amazing amount of milk per week without eating cereal for breakfasts. He also in not an avid snacker like I am, so he wants a breakfast that will keep him full.

I figured that finding a breakfast that was full of whole grains, yet was quick enough for us both to grab while running out the door to class would be easy enough. Oatmeal! Quick, filling, and full of whole grainy goodness.

Well, BF thinks oatmeal is mush. And paste. But he eats oatmeal cookies. I tried a baked oatmeal in a muffin tin to end up somewhere between an oatmeal muffin and cookie, but much less sugar.

These are also great breakfast food for the List we are trying to stick to. It's a serving of both whole grains and fruit. Pretty tasty too, I might add, although next time I might add a little extra honey...

Baked Apple Raisin Oatmeal
  • 1 cup of Old Fashioned Oats ( This would probably work with quick oats as well, but it would probably get a little mushier on the inside)
  • 2 Teaspoons of Cinnamon
  • 1/2 Teaspoon of Cloves
  • 1/2 Teaspoon of Cocoa powder (you can't taste it, but I think it gives the oatmeal a nice rich flavor)
  • 1/2 Teaspoon of Baking Powder
  • 1 Cup of Skim Milk
  • 1 Egg
  • 3 Tablespoons of Honey
  • 2 Tablespoon of melted Unsalted Butter
  • 2 Teaspoons of Vanilla
  • 1 Small Apple, Peeled and Chopped 
  • 1/2 a Cup or so of Raisins (I don't care for raisins, and BF thinks I am stingy with them. Your mileage may very) 
Preheat oven to 375 degrees and spray a muffin tin with non-stick cooking spray, or just butter it.
 

Mix oats with spices and baking powder in a medium bowl.


Mix all of your wet ingredients in a bowl, and mix well. Milk, egg, vanilla, honey, and melted butter.

Now combine the wet and dry ingredients well.

Evenly distribute the apples and raisins in the bottom of your muffin tin. 

 Pour the oatmeal mixture evenly into the muffin tins.


Bake for 15-20 minutes until the oats are set and starting to become a nice golden color on the top. This will give you a nice, muffiny texture. If you would like a texture closer to that of a granola bar, just cook a little longer. Just be warned that they do continue to firm up after you remove them from the oven. Too much longer and you will have made some delicious oatmeal rocks.


Enjoy!